
The printing Job is one of the most important parts of a PC User, Most of all printer supports the Windows operating system. Printer connecting is a simple task, so you can start printing right after you connect it to your computer. But these simple tasks like adding a shared network printer can become a hell of a task when the “Windows cannot connect to the printer” error is returned. However, even after installing the correct drivers, the error “Windows cannot connect to the printer” may appear. This error can occur if the printer has not been set up correctly or if the printer cables are loose.
Some printer issues are hard to tackle, especially when it comes to corrupted repositories or missing Windows files. Most printer problems start with “Windows couldn’t connect to the printer” but you will see their error code will be different. Some of the most common One are the following:
- Windows cannot connect to the printer. Access is denied.
- Windows cannot connect to the printer. Error Code: 0x0000011b.
- Windows cannot connect to the printer. Error Code: 0x0000007e.
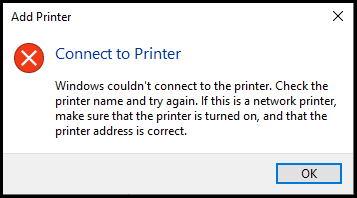
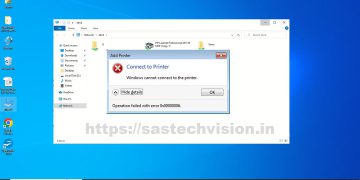
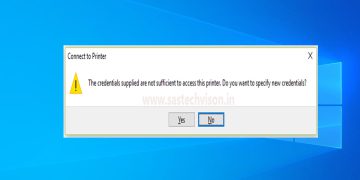
- Windows Couldn’t connect to the printer. Check the printer’s name and try again. If this is a network printer, make sure that the is turned on, and that the printer address is correct.
How to Fix “Windows Cannot Connect to the Printer” Error?
If you can’t print from certain programs or can’t connect to your printer in Windows, here are some troubleshooting methods.
1. Restart the Printer
Before moving on to advanced troubleshooting tricks to solve a printer problem, let’s go over some basics. Sometimes turning the printer off and on again can solve the problem. Turn off and unplug the printer, wait 30 seconds, plug the printer back in, then turn it back on.
- Press the Power button to turn off the printer.
- After the printer screen turns off, disconnect the power cord from the printer.
- Wait at least 30 seconds before connecting the power cable.
- Now, you can check a test print from your windows pc.
If you are not able to print after restarting the printer, you can try another Method which is below.
2. Check all cable and Power Source
You will need to double-check the cable connection to your printer. If the cable is loose or has an exposed wire on both ends, you’ll need to obtain a replacement from the printer manufacturer’s website or a printer peripheral vendor.
Also, make sure the cables are plugged into the correct ports before turning them on. If you’re not sure about the connection, you can refer to the printer manufacturer’s website or the instructions that came with the printer itself. Finally, turn it on and print a test document to check for errors.
3. Run the Printer Troubleshooter in Windows 10/11
Microsoft provides dedicated troubleshooters to resolve printer-related issues in the Windows operating system. So, if you still can’t fix the printer problem, running the Printer Troubleshooter might help.
Printer Troubleshooter in Windows 10
- Open Settings by pressing Windows + I at the same time.
- Select Update & Security in Settings.
- Choose Troubleshoot in the sidebar on the left.
- Select Additional troubleshooters on the right.

- Select Printer and choose Run the troubleshooter.

- Wait for the troubleshooter to find and fix your printer issues.
Printer Troubleshooter in Windows 11
- Open Settings by pressing Windows + I at the same time.
- Select System in Settings.
- Choose Troubleshoot in the sidebar on the Right.
- Select Other troubleshooters on the right.
- Click Run next to the Printer option.

Once this is done, the troubleshooter will automatically display the recommended fixes on your screen. When all fixes have been applied, click Close the troubleshooter. Finally, restart your PC and check your connection again.
4. Remove and Reinstall Your Printer Driver
When you install a printer on your PC, Windows installs the necessary drivers so that the printer can communicate with your computer. Over time, these drivers become out of date and cause various printer problems like ”Windows Cannot Connect to the Printer”. So remove the old driver and install the latest printer driver. You can download the driver from the printer manufacturer’s website or you can update it from Windows Device Manager automates the process, if not able to find and install the latest drivers manually.
- Open Manage by right-clicking the This PC icon and Select Device Manager.
- Search the Printer queues on the right-side panel and Expand the Print queues Section.
- Right Click on the Printer Which you want to update and Select Update driver.

- Select Search automatically for drivers to let Windows find the latest printer drivers.
- Wait for Windows to find and install the updated drivers.
- If the latest driver is not available, you will be prompted that “The best driver for your device is already installed”. In this case, you can choose to check Windows Update for updated drivers to force the system to check for the latest drivers.

5. Restart the Print Spooler Service
If you’ve already done all the steps above and are still having issues, restarting the print spooler service may help alleviate the headache of the “Windows Cannot Connect to the Printer” Error.
The Printer Spooler service in Windows helps the operating system recognize connected printers. So if you accidentally disable the Print Spooler service, there is no way to get your printer up and running.
- Launch Run by pressing Windows + R at the same time.
- Type the
services.msccommand in the Run box and press Enter. - Double-click Print Spooler on the right to open the Properties menu.
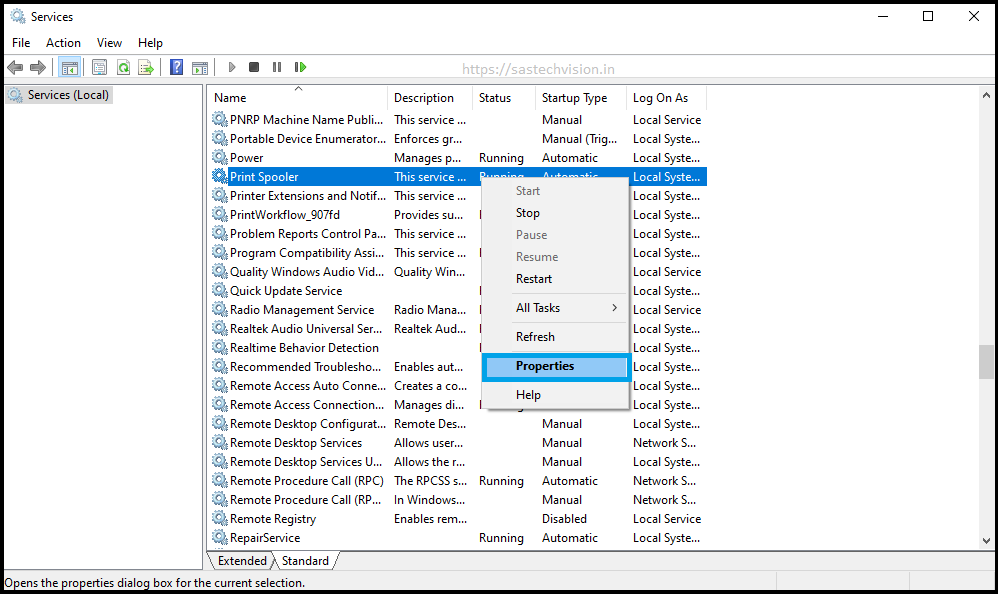
- Select Stop to temporarily stop the spooler service.
- Wait for a few seconds.
- Reactivate the service by selecting Start.

6. Copy mscms.dll File Manually
When Windows 10/11 mistakenly searches for the “mscms.dll” file in different subfolders, it causes the “Windows Could not connect to printer” error on your computer. You need to copy the mscms.dll file to the corresponding driver installation folder.
- Launch Run by pressing Windows + R at the same time.
- Type the
system32command in the Run box to open System32 Folder and press Enter. - Find and Copy the file mscms.dll from system32 folder.
- Paste mscms.dll file into this Folder
C:\windows\system32\spool\drivers\x64\3.

7. ”Windows Cannot Connect to the Printer” Due to Windows Update
According to user reports, Windows 10 shows the error ”Windows Cannot Connect to the Printer” after installing security updates KB5005568, KB5005566, and KB5005565. This helps protect against Windows Print Spooler impersonation. These updates break the TPC authentication level for network printers and cause the error “Can’t Connect to Printer”. Uninstalling updates usually fix the problem. If you can’t uninstall the Windows update because it was installed more than two weeks ago, the only way to fix the error is to use Registry Editor.
- Press Win + R Key at the same time.
- Type regedit in opened Run Box.
- Hit OK.

Now, the Registry editor page will open after running this command in the run box then expand the Following Path or copy and paste it into the path bar.
HKEY_LOCAL_MACHINE\System\CurrentControlSet\Control\Print
After navigating the above location. Create a new DWORD (32-bit) Value that name should be RpcAuthnLevelPrivacyEnabled and press enter key to save the change. You can see the below image.

- Now, double-click on the newly created RpcAuthnLevelPrivacyEnabled value.
- In the Edit menu, you have to only change the set Value data To 0. Zero is the default number of Value data But we should check it once.
- clicking Ok to save the changes.

After the Registry modification does not forget to restart printer spooler services. a system restart is not required after modification. You can check how to restart printer spooler services.
8. Review Group Policy Editor
If you connect a printer to your computer without administrative privileges, Windows will not let you install the drivers correctly. If this is the case, you will need to change an option in the Group Policy Editor to resolve the issue.
Group Policy Editor (GPE) is an advanced configuration editor for the Windows operating system. It allows you to adjust most advanced Windows settings on the fly.
Follow the steps below to resolve printer connectivity issues.
- Open the Run menu by pressing Win + R at the same time.
- Now, type gpedit.msc and click OK.

- Under Computer Configuration, click Administrative Templates > Printers.
- Double-click the Limits print driver installation to Administrators.

- select Disabled.
- To save the changes, click Apply and then OK.
- Now you’ve to restart your PC.

Also, make sure that the Allow Print Spooler to accept client connections option is set to either Not Configured or Enabled.
Note: Group Policy Editor (GPE) functionality is for Windows Pro, Education, and Enterprise editions only. Therefore, you need to use a workaround to access the Group Policy Editor on Windows Home.
These are the quick and best ways to completely fix the “Windows cannot connect to printer” error. We hope these solutions will help you recover from this error.

